
If you’ve read our Cannabis Pre-Rolls blog, you already have a good understanding of what a cannabis pre-roll is and what unique benefits they can offer medical cannabis patients. In case you missed it, they’re ready-to-go joints that are pre-rolled for you; except don’t call them joints -- that terminology is generally avoided by most professionals in the cannabis industry.
If you’d like to explore pre-rolls even further, you’ve come to the right place. In this blog, we’ll cover how to make your own pre-rolls, what accessories you’ll need, and how to best store pre-rolls.
How to make your own pre-rolls
If you’ve never rolled your own pre-roll before, the first thing you’ll need is a few accessories:
- Cannabis
- Rolling papers
- Grinder
- Pen or tamping stick to help pack the pre-roll
- Optional: rolling tray and crutch*
* A crutch -- also called a filter or a tip -- is a mouthpiece that keeps the end of your pre-roll open, blocks cannabis from getting into your mouth, and ensures you won’t burn your lip or hands. You can purchase them from a dispensary or you can make your own.
Now that you’ve gathered your supplies it’s time to make your own pre-rolls. Here’s how:
Step 1: Grind your cannabis
If you’ve seen a pre-roll before, you know that the cannabis inside is ground down to a fine consistency (think oregano.) Unless you’ve purchased pre-ground flower, the first step towards rolling your own pre-roll is grinding down the flower with a grinder. It’s not uncommon for dispensaries to provide complimentary grinders with a purchase, but you can also purchase them from a dispensary like CULTA.
The important thing here is to grind your flower down to an even consistency -- this way, your pre-roll will burn evenly. If you don’t have a grinder you can use scissors or your hands. Just make sure it’s even.
Step 2: Fill your rolling paper
Once your cannabis is ground, it’s time to fill your paper with cannabis. The ratio of cannabis to rolling paper is usually one-third to one-half a gram of cannabis to a single 1 ¼ wide rolling paper (which is the most common rolling paper size.) If you’ve purchased a different size paper you’ll have to do some math.
First, fold the rolling paper into a V-shape so there’s an easy-to-navigate “gutter” where you can place your cannabis. Distribute the cannabis evenly into the rolling paper, unless you want to make a cone-shaped pre-roll. If this is the case, add less flower towards the top (which is where the crutch should be, if you’re using one.)
Step 3: Roll and seal the pre-roll
Rolling papers will have a side that’s coated with adhesive. Pinch the paper between your thumb and your index finger, so the adhesive-coated side is facing you. Start rolling the pre-roll back and forth to pack the cannabis evenly in a cone or cylindrical shape (depending on the shape of pre-roll you’re going for.) Then, tuck the non-adhesive side over, rolling it up towards the adhesive side. Once you’re pleased with the shape, wet the adhesive (starting at the mouthpiece end) and “seal” the pre-roll closed.
Use a pen or tamping stick to “pack” the end of the pre-roll. If you don’t plan on using it right away, twist your pre-roll shut so you don’t lose any cannabis flower while it’s in storage.
Other pre-roll tips
If you’ve attempted to make your own pre-roll and are having difficulty, it’s OK -- nobody is perfect at pre-rolls their first time. It takes plenty of patience and plenty of practice, but you’ll get better at it over time. Here are some other pre-roll tips to keep in mind:
- Thickness matters. The thicker the paper, the easier the roll. (Same with size!) If you’re just starting out, start with smaller-sized paper made of hemp. As you become more comfortable, you can move on to bigger sizes and thinner paper.
- Take your time. As you’re putting together your pre-roll, don’t rush through it. Ask yourself if the cannabis looks even, if the grind looks right, and if you’re rolling to perfection. You can always go back a step, but it’s difficult to go back two or three because you rushed through it.
- Spit sparingly. Just remember that a little moisture goes a long way -- a.k.a. don’t overdo it on the spit. If you’re a caregiver putting together a pre-roll for another patient, this part is especially important, as you don’t want them to be handling a soggy pre-roll. Yuck.
- Rotate your pre-roll. Nobody wants their pre-roll to burn unevenly (often referred to as ‘canoeing.’) To prevent this from happening, rotate your pre-roll when lighting it. This ensures that each side is exposed evenly to the flame.
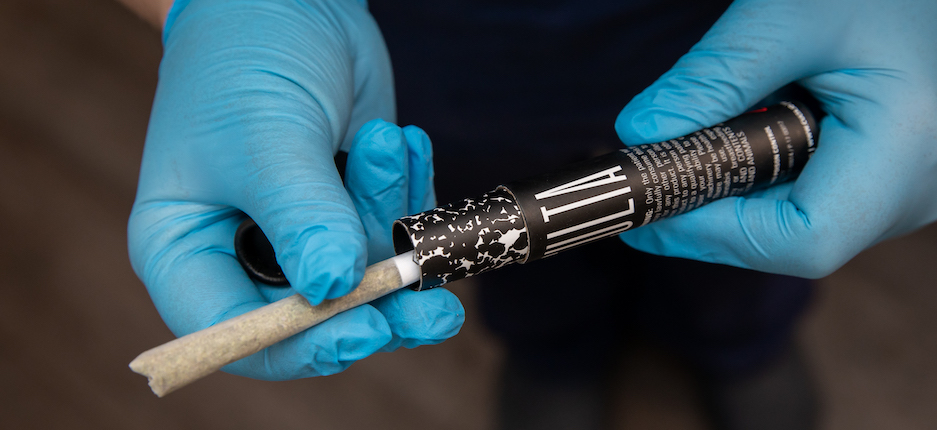
- Store pre-rolls correctly. Cannabis in most forms (pre-rolls included) should be stored in a cool, dry, dark place. Ideally, keep them stored in the container they came in or a “doob tube” -- a long cylindrical tube that’s airtight, smell-proof, and opaque.
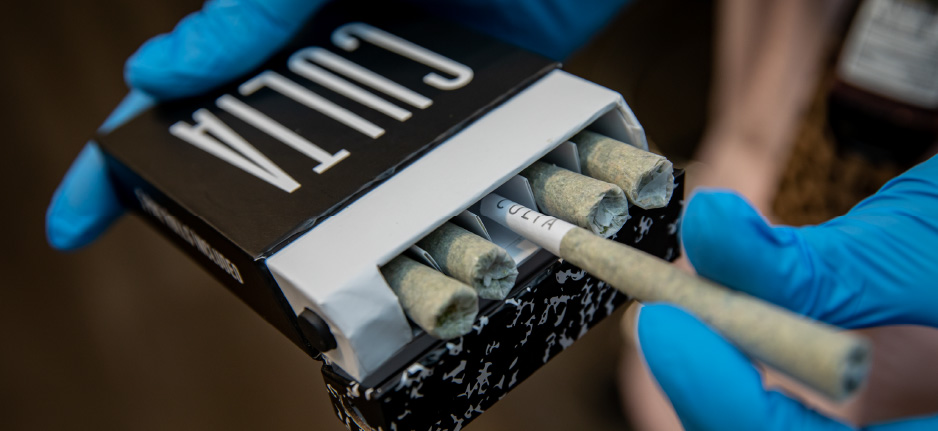
Purchase pre-rolled pre-rolls
We know, it’s a mouthful. But if you’ve tried making your own pre-rolls and have decided that it’s not for you (don’t worry -- we totally get it!), you may want to look into purchasing a pre-rolled pre-roll. Unlike pre-rolls you make at home, professionally crafted pre-rolls will have the exact same amount of cannabis in them (which makes it easy for patients to regulate their medication), and aren’t a hassle to make. Plus, there’s no spit involved, which takes away a bit of the “ick” factor of using pre-rolls.
Curious about what CULTA has to offer? Head into our Federal Hill dispensary to learn more about our selection of pre-rolls. One of our patient coordinators will be more than happy to chat about pre-rolls with you!